-
Go to Start -> All Programs -> VIP Quality Software -> VIP Task Manager Professional -> Database Manager

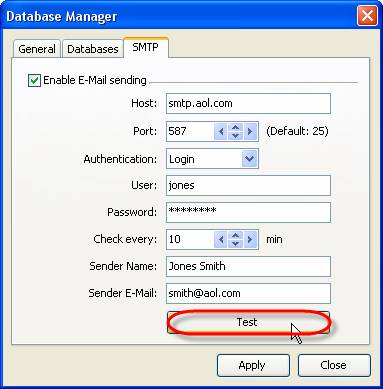
- Select ‘SMTP’ tab in Database Manager’ window
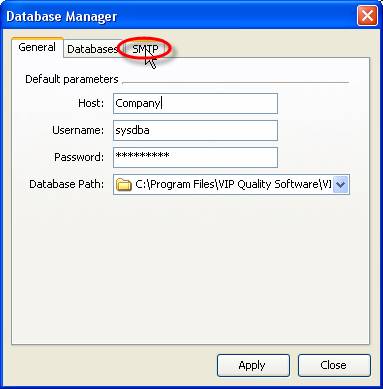
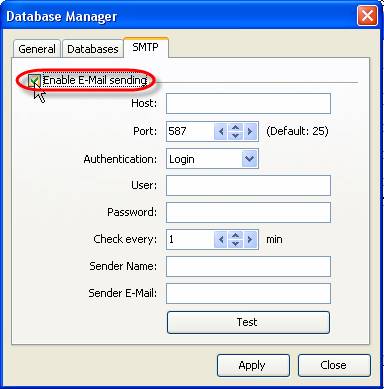
- Check ‘Enable E-Mail sending’ option
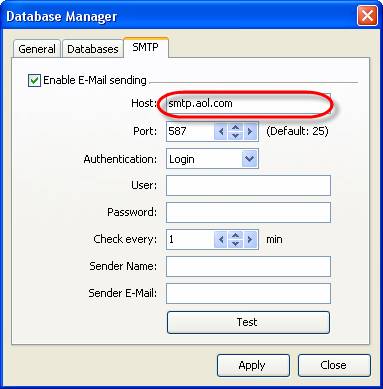
- Enter host name of your SMTP server into ‘Host:’ entry field
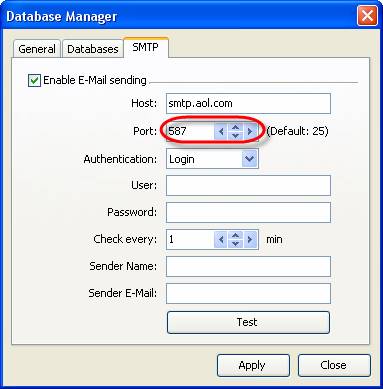
- Enter SMTP port into ‘Port:’ entry field
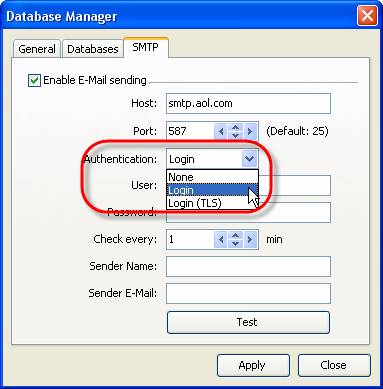
- Select the type of authentication from ‘Authentication’: drop-down list
None – if there is no need in login and password while accessing SMTP
Login – if only login and password are required to access SMTP
Login(TLS) – if SSL-connection is used to access SMTP
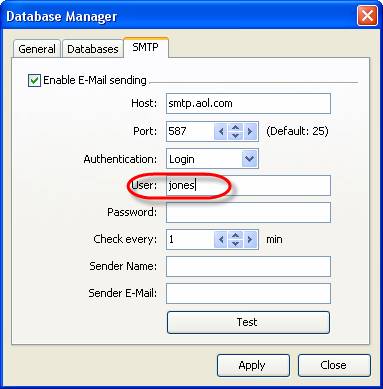
- Enter user name for authorization into ‘User:’ entry field
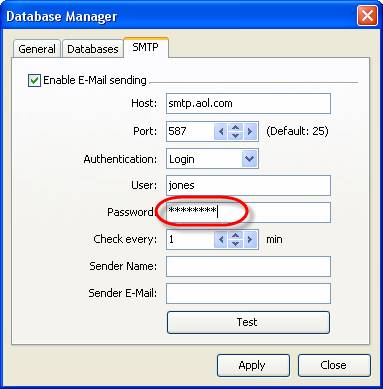
- Enter user password for authorization into ‘Password:’ entry field
-
Change time-out value in ‘Check every’ entry field if needed and click ‘Apply’ button
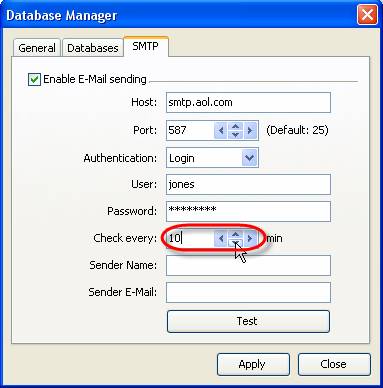
-
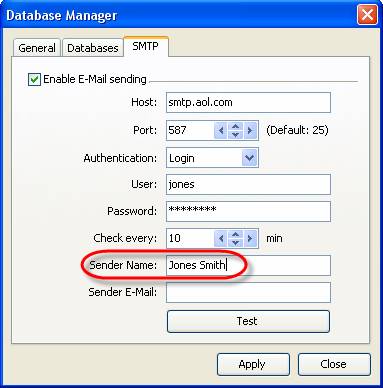
Enter your name into ‘Sender Name:’ entry field. It will be added to the message
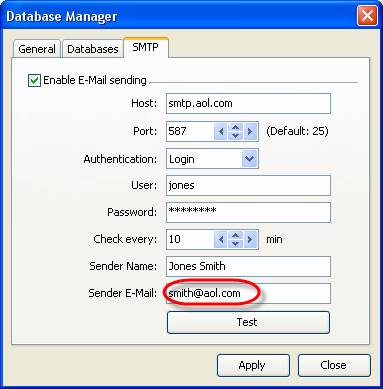
- Enter your e-mail address into ‘Sender E-Mail:’ entry field. It will be added to the message to ‘From’ field.
- Click ‘Apply’ button
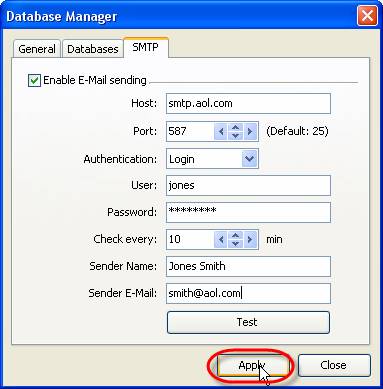
- Click ‘Test’ button to send test message
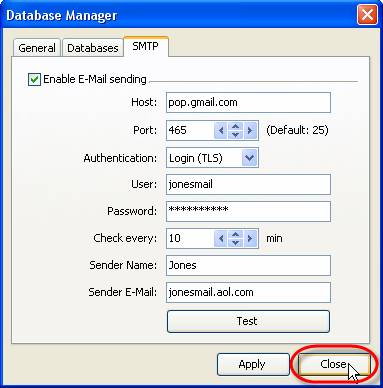
- Click ‘Close’ button
-
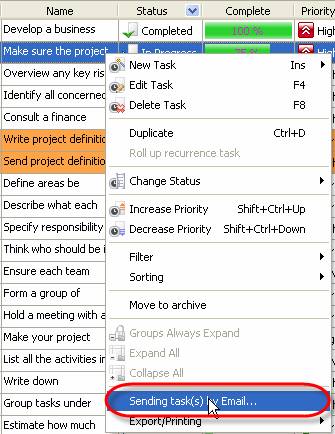
Start VIP Task Manager, right click on required task and select ‘Sending task(s) by Email…’ from drop-down list
Note:
-
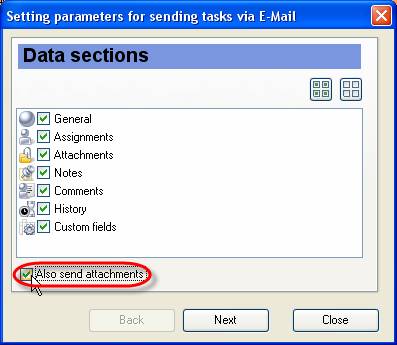
Check data section you want to be sent with the task
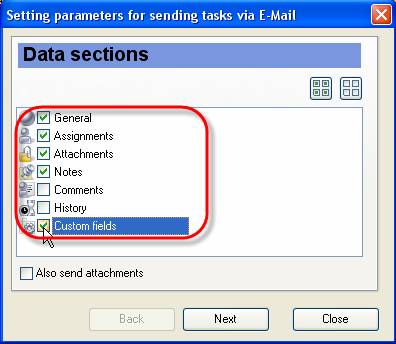
General – task name, priority, task group this task belongs to, Estimated & Actual Time, Workflow, Status, Complete, Due Date, Start & Finish Date
Assignments – the names of resources selected task is assigned to
Attachments – the types, names and descriptions of attachments of selected task
Notes – notes of selected task
Comments – comments of selected task
History – a history of task changes
Custom fields – names and values of custom fields selected task has
Tips:
- To quickly select all data sections click on
 button
- To quickly uncheck all data sections click on
 button
-
Check ‘Also send attachments’ option to send the files or links attached to selected task together with the task
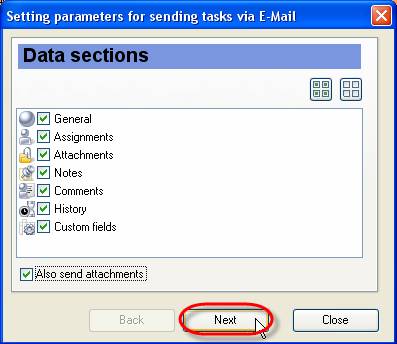
- Click ‘Next’ button
-
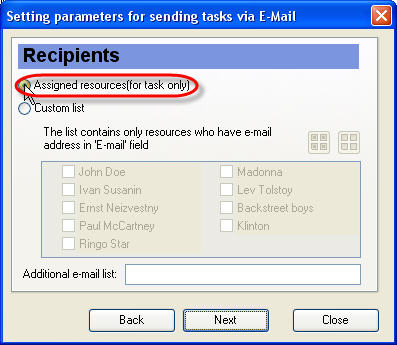
Set ‘Assigned resources’ radio button to send selected task to the resources assigned to this task. The list contains only resources who have e-mail address in 'E-mail' field.
-
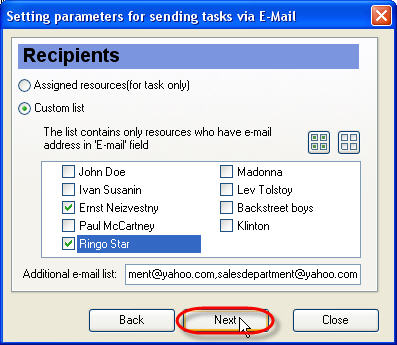
Alternatively, select‘Custom list’ radio button and check resources for sending e-mail

Tips:
- To quickly select all resources click on
 button
- To quickly clear resource list click on
 button
-
Enter additional e-mail addresses selected task will be sent to into corresponding entry field. Several e-mail addresses are separated by comma or semicolon

- Click ‘Next’ button
-
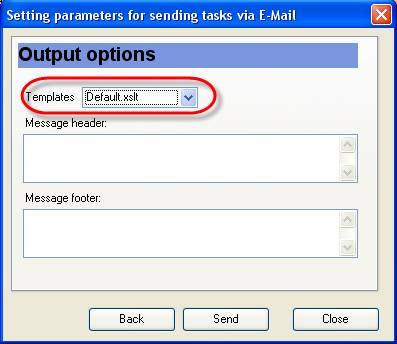
Select required template from ‘Templates’ drop-down list. This template defines the view of outgoing message.
Note:
-
You can create your own templates, go to the folder with VIP Task Manager product (by default it’s path is C:\Program Files\VIP Quality Software\VIP Task Manager Professional) and put them into ‘XSLT’ folder. After that your templates will be available in ‘Templates’ drop-down list of ‘Setting parameters for sending tasks via E-Mail’ window.
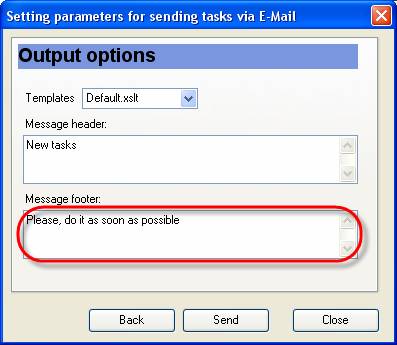
- Enter the header of e-mail into ‘Message header’ entry field

- Enter the footer of e-mail into ‘Message footer’ entry field
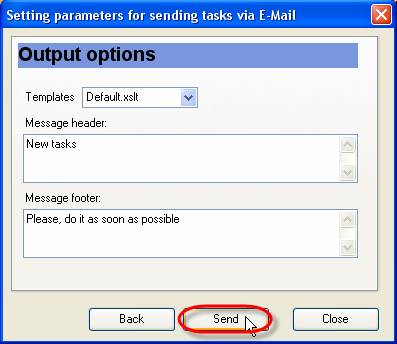
- Click ‘Send’ button
-
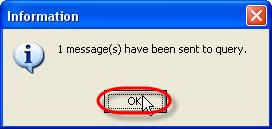
Click ‘Ok’ button in appeared information message. Your e-mail will be sent when timeout is finished
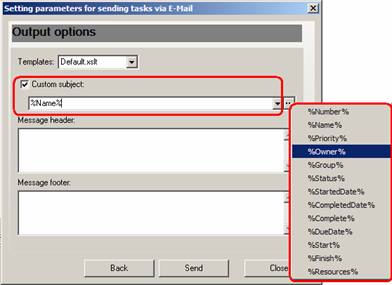
- You can add custom subject to email message. Click button “…” and select subject from the list, or combine several subjects
